Prerequisites: Setting Up LinkedIn MCP Server
Before creating your workflow, you need to connect your LinkedIn account through an MCP server.Step 1: Configure LinkedIn MCP Server
-
Navigate to MCP Settings: Go to your Dume AI menu and locate the MCP Server section
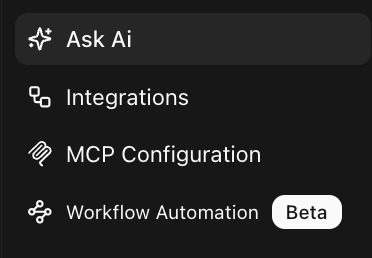
- Add LinkedIn Integration: Follow the detailed setup instructions at https://docs.dume.ai/mcp_server to connect LinkdIn MCP remote server from Composio.
- Authenticate Your Account: Complete the OAuth flow to connect your LinkedIn profile
- Test Connection: Verify that the LinkedIn MCP server is properly connected and accessible
Building the LinkedIn Post Workflow
Step 2: Create the Input Node
-
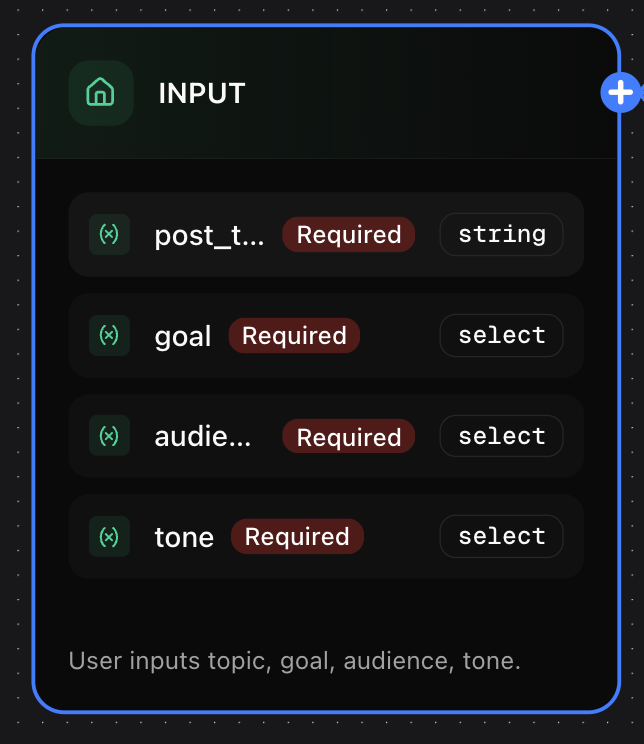
Add Input Node: Drag an Input Node onto your workflow canvas
-
Configure Input Parameters:
-
Field Name:
post_topic(Type: Text, Required: Yes) -
Field Name:
tone(Type: Dropdown, Options: Professional, Casual, Enthusiastic, Required: Yes) -
Field Name:
target_audience(Type: Text, Required: No) -
Field Name:
key_points(Type: Text, Required: No)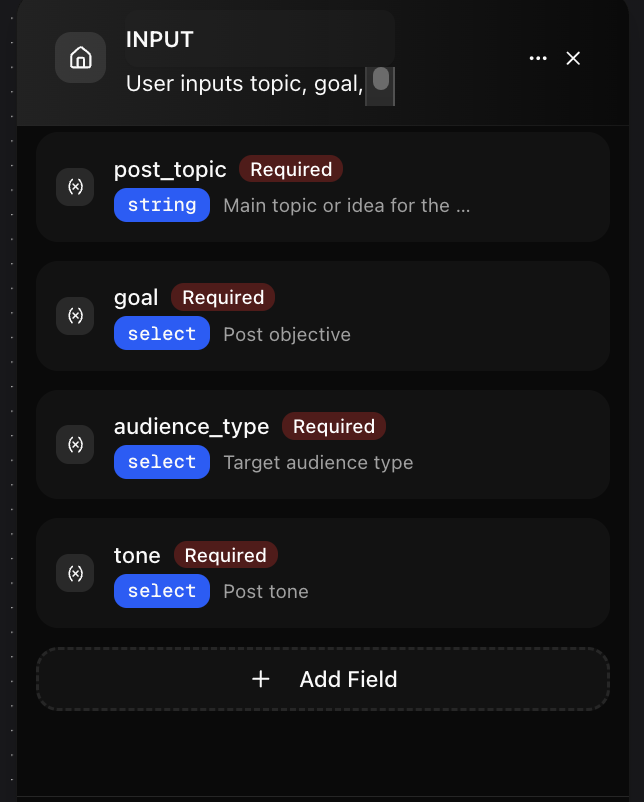
-
Field Name:
- Add Description: “Provide the topic and tone for your LinkedIn post”
Step 3: Create the Hook Generator LLM Node
- Add LLM Node: Place an LLM Node and connect it to the Input Node
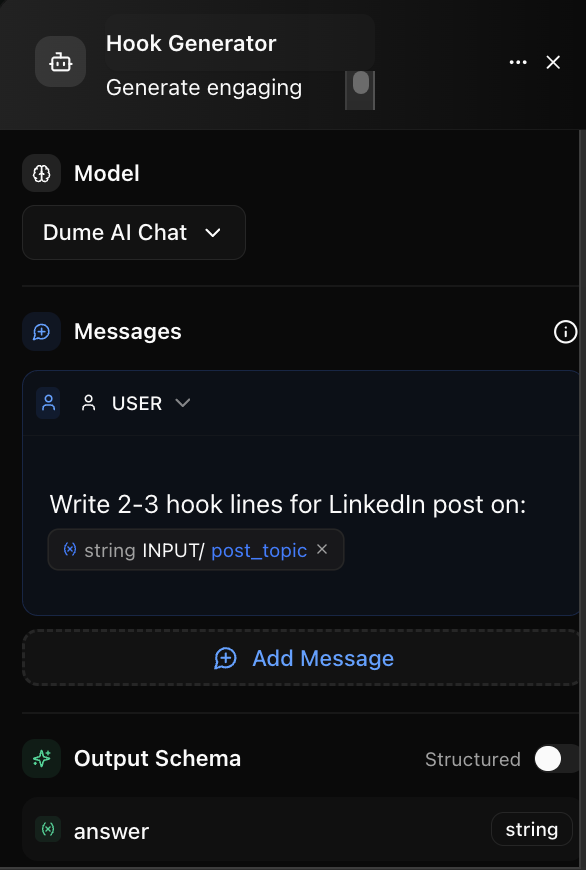
- Node Configuration:
- Name: “Hook Generator”
- Model: Select “Dume AI Chat”
- Prompt:
-
Output Schema: Keep default (single string output)
Step 4: Create the Body Content Generator LLM Node
- Add Second LLM Node: Place another LLM Node connected to the Input Node
- Node Configuration:
- Name: “Body Content Generator”
- Model: Select “Dume AI Chat”
- Prompt:
-
Output Schema: Default string output
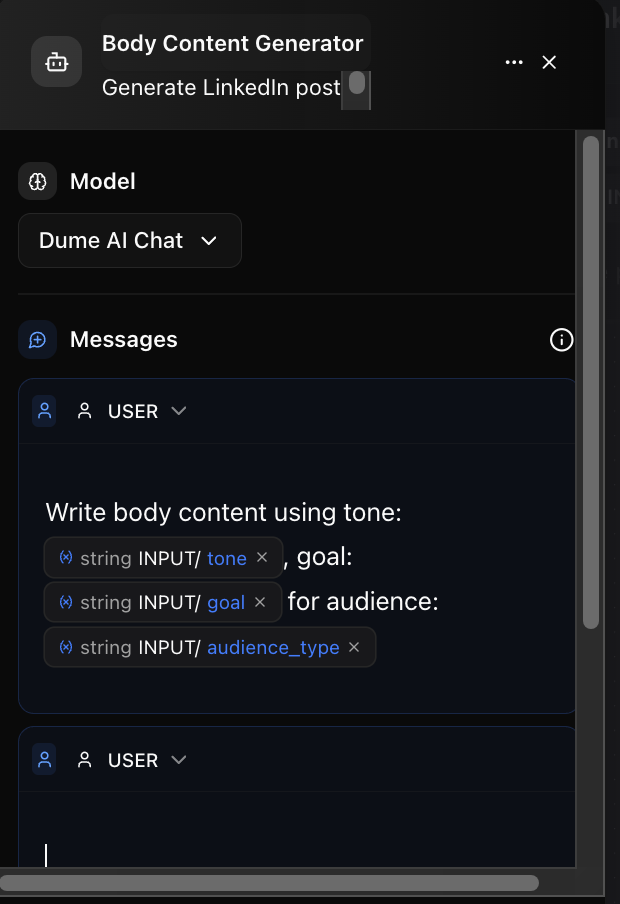
Step 5: Create the Hashtag & CTA Generator LLM Node
- Add Third LLM Node: Place another LLM Node connected to the Input Node
- Node Configuration:
- Name: “Hashtag & CTA Generator”
- Model: Select “Dume AI Chat”
- Prompt:
-
Output Schema: Default string output
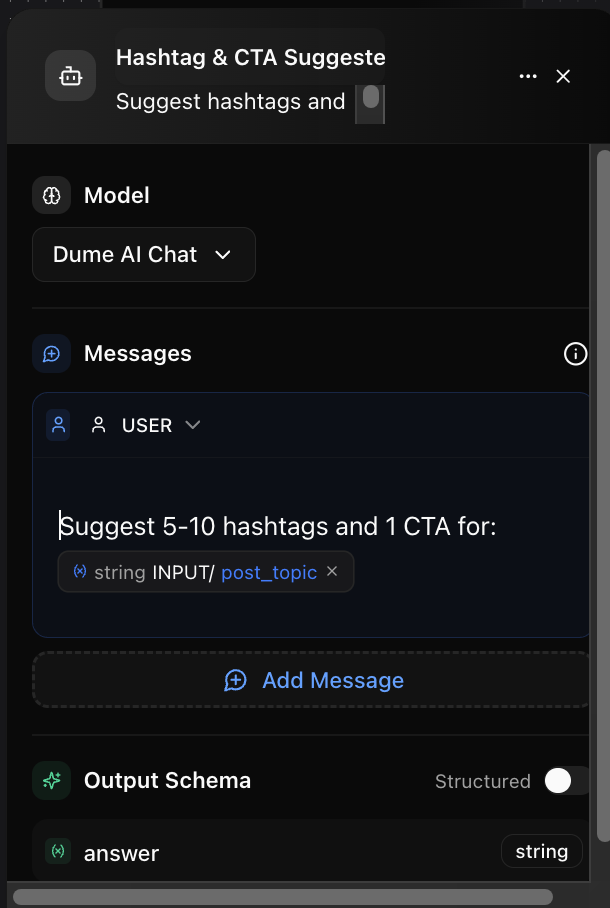
Step 6: Create the Post Refiner LLM Node
- Add Fourth LLM Node: Place an LLM Node that connects to all three previous LLM nodes
- Node Configuration:
- Name: “Post Refiner”
- Model: Select “Dume AI Chat”
- Prompt:
-
Output Schema: Default string output
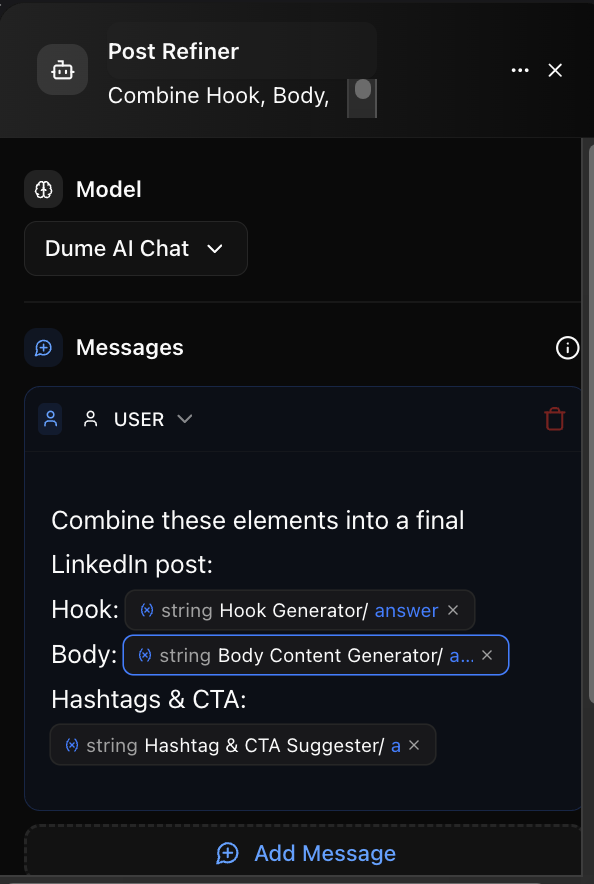
Step 7: Add the LinkedIn Publishing Tool Node
-
Add Tool Node: Place a Tool Node connected to the Post Refiner
-
Node Configuration:
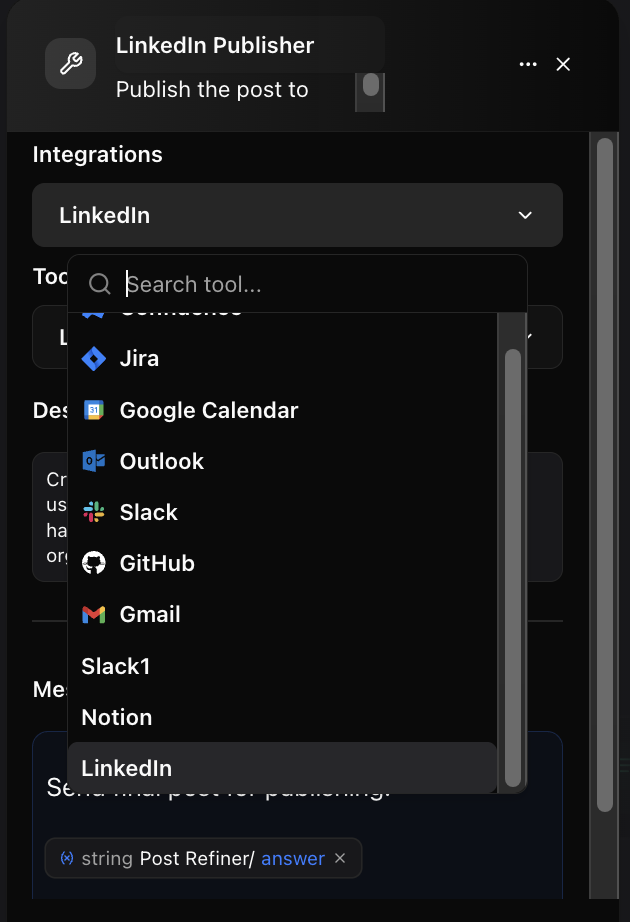
- Name: “LinkedIn Publisher”
- Integration: Select your configured LinkedIn MCP Server
- Tool: Choose “Create LinkedIn Post” (or equivalent tool name)
- Message/Instructions:
- Parameters: The tool should automatically map the post content from the Post Refiner output
Step 8: Add the Output Node
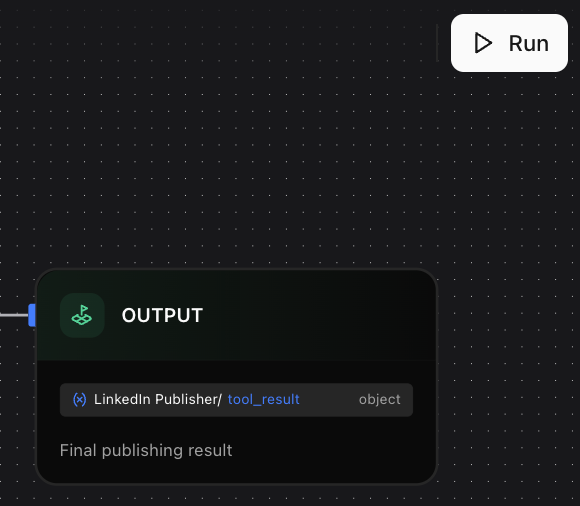
- Add Output Node: Place an Output Node connected to the Tool Node
- Configure Output Variables:
- Field Name:
original_topic→ Map to{string INPUT/post_topic} - Field Name:
generated_post→ Map to{string Post_Refiner/answer} - Field Name:
publish_result→ Map to{string LinkedIn_Publisher/result} - Field Name:
post_url→ Map to{string LinkedIn_Publisher/post_url}(if available)
- Field Name:
- Description: “LinkedIn post generation and publishing results”
Testing Your Workflow
Step 9: Test the Complete Flow
- Save Your Workflow: Give it a descriptive name like “LinkedIn Post Creator”. It also auto saves in every 10 seconds.
- Test Run: Click the test button and provide sample inputs:
- Post Topic: “The future of AI in marketing”
- Tone: “Professional”
- Target Audience: “Marketing professionals and business owners”
-
Key Points: “Efficiency, personalization, data-driven insights”
- Verify Results: Check that each node produces expected outputs and the final LinkedIn post is published successfully on the LinkedIn page.
Pro Tips
- Add Note Nodes: Include documentation for complex logic or team collaboration
- Error Handling: Consider adding Condition Nodes to handle potential API failures
- Customization: Adjust prompts based on your brand voice and industry
- Testing: Always test with different topics and tones before deploying