> ## Documentation Index
> Fetch the complete documentation index at: https://docs.dume.ai/llms.txt
> Use this file to discover all available pages before exploring further.
# Workflow Studio - Getting Started with Automation
> Create powerful automated workflows with Dume.ai's intuitive drag-and-drop interface. Build custom automation tools using AI nodes to streamline complex business tasks.
## How It Works
Building a workflow in Dume AI is a straightforward process:
1. **Connect Nodes:** Build your automation by visually linking different nodes together.
2. **Configure Logic:** Set parameters for each node to control the data flow and logic.
3. **Use as a Tool:** Deploy your completed workflow as a tool in chatbot conversations.
## Available Nodes
Below is a comprehensive list of the nodes you can use to build your workflows. Each node serves a specific function, allowing you to create highly customized and powerful automation tools.
The Input Node is the starting point of your workflow. It defines the initial data that your workflow will receive when it's executed as a tool by the chatbot. You can specify the required input fields, their data types (e.g., text, number, boolean), and validation rules.
The Large Language Model (LLM) Node allows you to leverage the power of AI to generate text or structured data. You can pass data from previous nodes to the LLM to create context-aware responses. To reference an output from a preceding node, you can use a '/' mention.
The Condition Node adds branching logic to your workflow. It allows you to create if-else statements that route the workflow down different paths based on the evaluation of data from previous nodes.
The Note Node is for documentation purposes. It doesn't affect the workflow's logic but allows you to add comments and explanations. This is incredibly helpful for complex workflows, making them easier for you and your team members to understand and maintain.
The Tool Node enables your workflow to execute other Dume AI (MCP) tools or connect to external services. You provide instructions in natural language, and the LLM will automatically generate the necessary parameters to run the tool based on the context of your workflow.
The Http Node allows your workflow to interact with external APIs and web services. You can make HTTP requests (GET, POST, etc.) to fetch data from or send data to third-party platforms.
The Code Node gives you the ability to run custom code scripts (e.g., JavaScript, Python) within your workflow. This node can access data from previous nodes, allowing for advanced data manipulation, calculations, or logic that goes beyond the capabilities of the other nodes. *(Note: This feature is coming soon.)*
The Template Node is used to create dynamic documents, emails, reports, or other formatted text. It combines static text with variables from previous nodes, allowing for powerful content generation.
The Loop Node allows you to repeat a set of actions for each item in a list, array, or collection. This is essential for processing data in batches.
* **Example:** If your workflow starts with a list of 10 article topics from an Input Node, you can use a Loop Node to run a series of LLM and Tool Nodes for each topic individually, generating a unique article for each one.
Automatically starts a workflow via schedule, external event, or webhook.
* Types: Schedule (daily, interval, cron), Integration Event (issue created, meeting soon), Webhook (POST).
Use cases: Email Triage on email received, workflow triggered on meeting scheduled.
Pauses workflow before next step.
* Uses: Rate limit API calls, wait for processing.
Tips: Avoid very long stale waits; pair with a Condition Node after delay if state may change.
The Output Node is the final step in your workflow. It collects data from any of the previous nodes and structures it as the final result of the tool's execution. This is the data that will be returned to the chatbot or the system that initiated the workflow.

 Building a workflow in Dume AI is a straightforward process:
1. **Connect Nodes:** Build your automation by visually linking different nodes together.
2. **Configure Logic:** Set parameters for each node to control the data flow and logic.
3. **Use as a Tool:** Deploy your completed workflow as a tool in chatbot conversations.
## Available Nodes
Building a workflow in Dume AI is a straightforward process:
1. **Connect Nodes:** Build your automation by visually linking different nodes together.
2. **Configure Logic:** Set parameters for each node to control the data flow and logic.
3. **Use as a Tool:** Deploy your completed workflow as a tool in chatbot conversations.
## Available Nodes
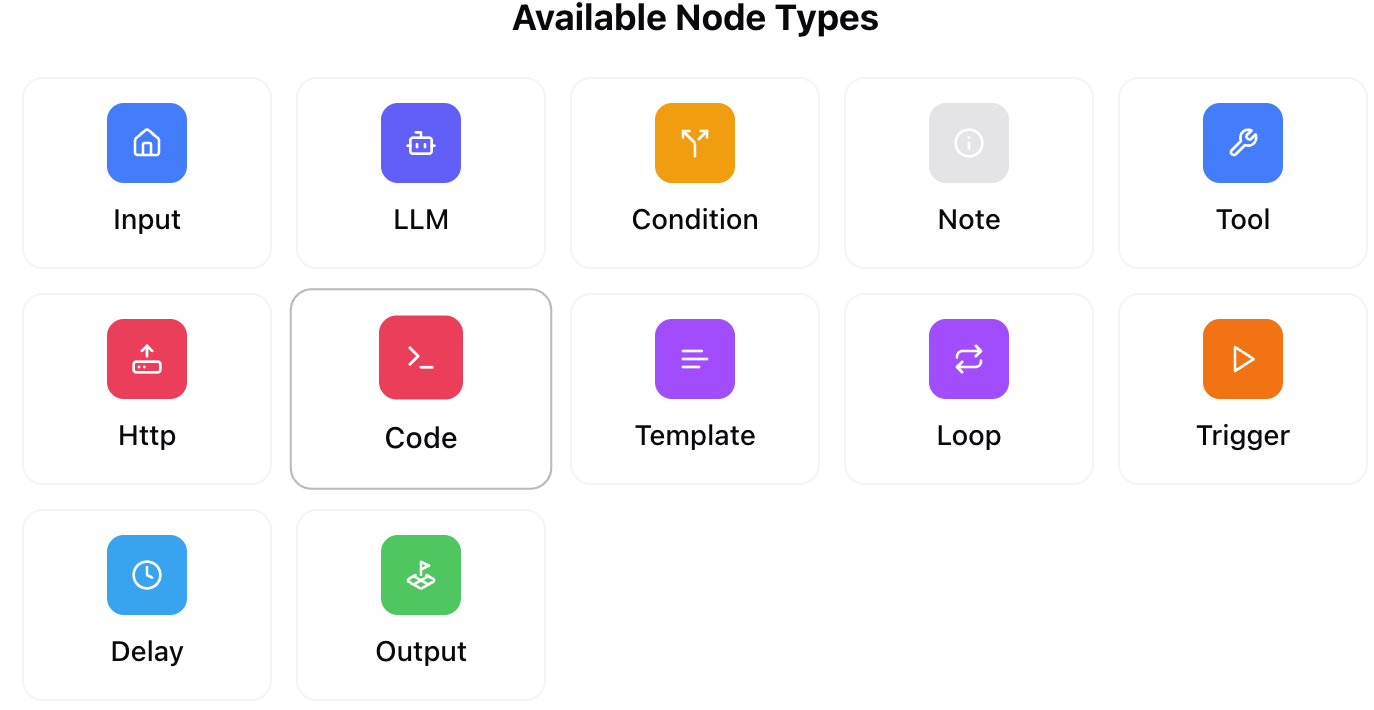
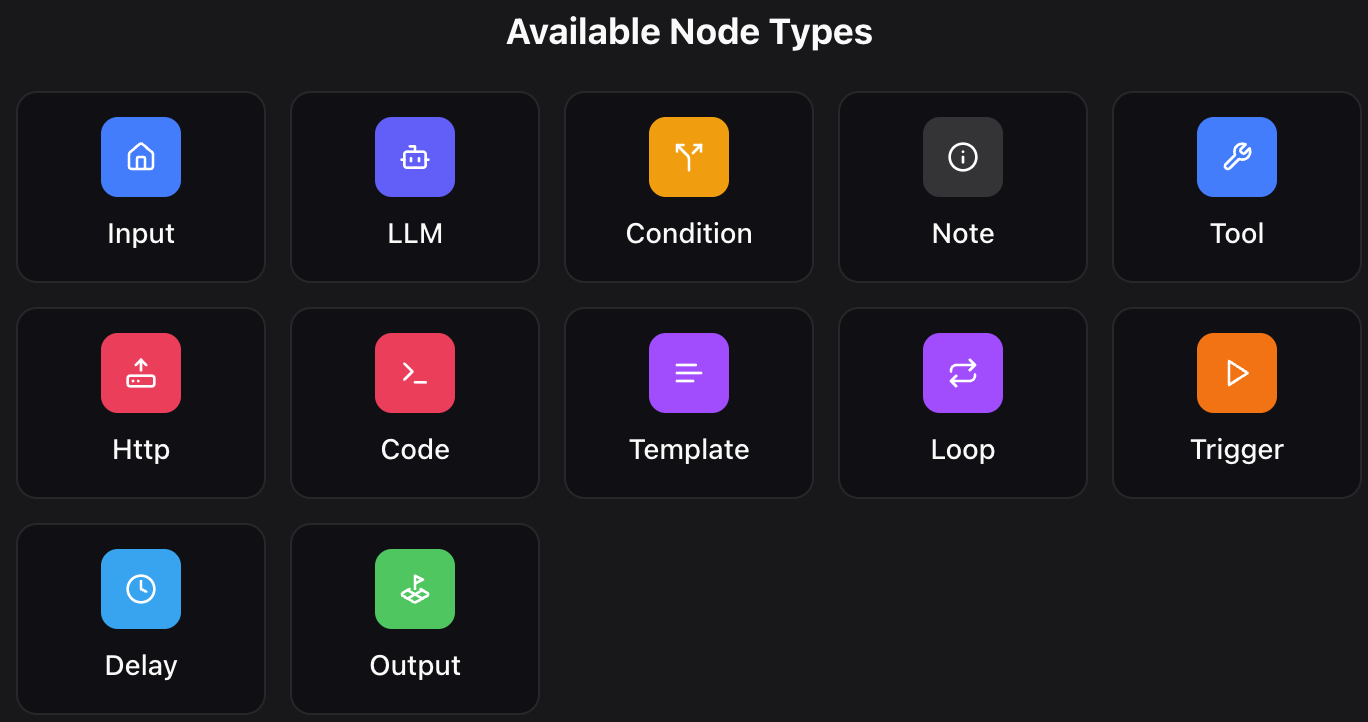 Below is a comprehensive list of the nodes you can use to build your workflows. Each node serves a specific function, allowing you to create highly customized and powerful automation tools.